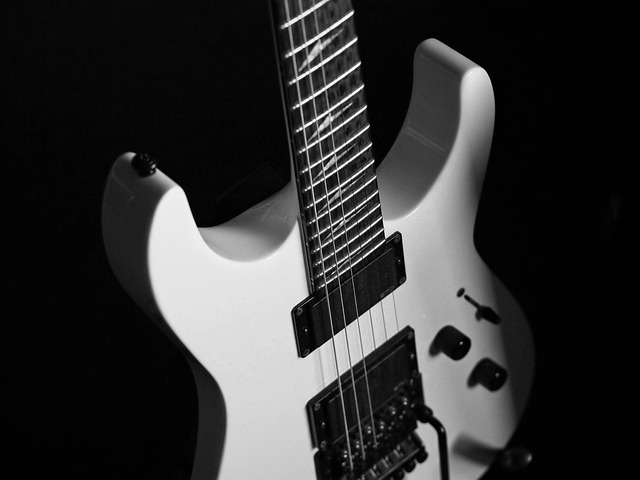
Capturing the crushing, wall-of-sound tone that defines heavy and extreme metal isn’t just about turning up the gain. It’s about performance precision, proper recording technique, and knowing how to layer your tracks to make them sound massive without turning them into a muddy mess. This guide will walk you through the process using a simple home studio setup.
Equipment You’ll Need
- Guitar
- Laptop or desktop computer with a DAW (Digital Audio Workstation, example: Logic Pro on Mac)
- Audio interface (example: Focusrite Scarlett series)
- Guitar amp
- Outboard amp head + cabinet + effects OR
- Outboard amp simulator OR
- In-the-box amp simulator
- Bass guitar + bass recording method (DI, amp sim, or amp/mic setup)

Preparation
Before we get into tracking, you need to set up one guitar with a mono input into your DAW via your audio interface.
- If using an amp and cab: Mic the cab, set your tone, and route it into your interface.
- If using an amp sim: Either hardware or software, dial in your tone before recording.
This article assumes you already have your tone set up and ready to record.
Step 1 – Record the First Guitar Track
- Create a mono audio track in your DAW.
- Keep it panned center during recording—this makes timing and tightness easier to hear.
- Record to a click track to maintain perfect tempo.
- Play as tightly as possible; accuracy is critical in extreme metal.

Step 2 – Double Track for a Massive Stereo Sound
- Take your first recorded track and pan it to the left (exact side doesn’t matter yet).
- Create a second mono track and record the same part again, panned to the opposite side.
- Important: Do not change your guitar tone, effects, or gain settings. Both tracks should sound identical in tone.

Why Double Tracking Works
Even when you try to play perfectly, tiny variations in timing, pick attack, and dynamics naturally occur between takes. When panned left and right, these differences create a wide, full, and powerful stereo image—similar to how an orchestra uses multiple instruments playing the same note to create a rich sound.
The Orchestra Connection
This layering concept has been part of music for centuries. In a symphony orchestra, the string section is often divided into first violins, second violins, violas, cellos, and double basses. But there’s rarely just one player per part — instead, you’ll find multiple musicians playing the exact same notes within each section. This creates a lush, unified sound because no two players are perfectly identical. Each musician’s subtle variations in bow pressure, timing, and tone blend together into a single, massive voice that feels larger than life.

When you double-track guitars, you’re doing the same thing as an orchestra’s string section — layering near-identical performances to create a depth and richness a single instrument can’t achieve on its own.
Why You Can’t Just Copy/Paste
Duplicating a track only makes it louder, not wider. If you have two of the same, exact wave form, then the waves add together resulting in more volume. However, double-tracked guitars causes subtle human variations between the two recorded versions (a.k.a. two different wave forms) that cause a wider sound. The guitar sounds huge!

Also note there are “doubler” plugins or effects that slightly offset the audio signal in one channel versus the other to simulate double-tracking. A doubler is included within the Neural DSP Archetype plugin. These are good for practicing, writing, and even live (when you do not have multiple guitars playing the same part), but double-tracking is the most preferred option when recording.

Photo courtesy of Sweetwater
Step 3 – Record the Bass
- Record your bass part panned dead center.
- This anchors your guitar layers and fills out the low end of your mix.
- Depending on your style, you can record clean DI, through an amp, or with a bass amp sim.

Stereo Field Layout
Below is a simple diagram showing how your guitars and bass should be positioned in the mix:

Visual Key
- Guitar L – First take (record down center), hard-panned left
- Guitar R – Second take, hard-panned right
- Bass – Centered, anchoring the mix
Mixing Tips
- Group or buss the two guitar tracks so you can adjust volume and EQ together.
- Keep both guitar tracks at the same volume and EQ settings for balance.
- Decide where your bass should sit:
- Front of the mix – Slightly louder so you can clearly hear it.
- Back of the mix – Quieter, so you feel it more than you hear it.
- Add EQ and compression to taste, but avoid over-processing—you want to keep the raw aggression intact.
Wrapping It Up
Recording heavy extreme metal guitars comes down to tight performance, accurate double tracking, and a balanced stereo mix. By panning two identical performances hard left and right with the bass holding the center, you can create the massive, wide sound that defines the genre.
Still have questions?

